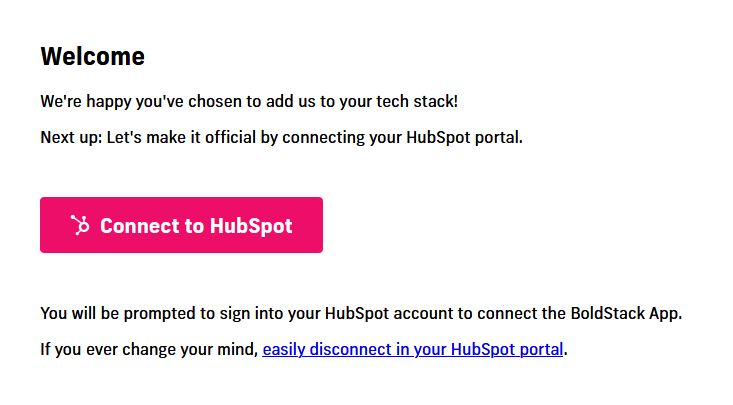
Connecting to HubSpot
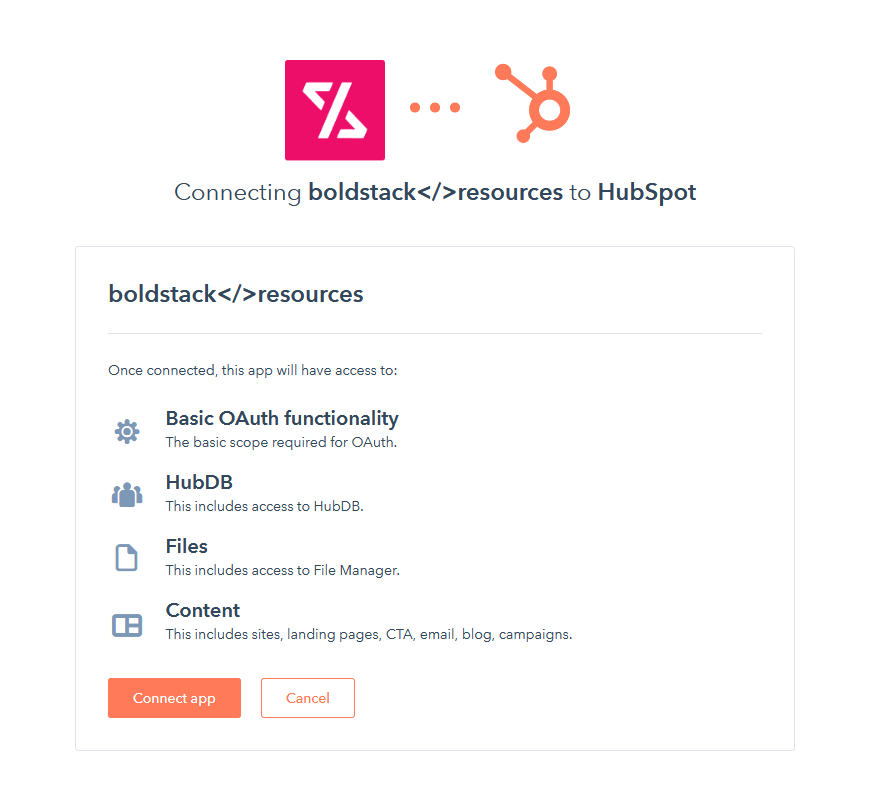
Click "Connect to HubSpot" and you'll see your available HubSpot portals. Select the one which you wish to connect boldstack resources to. You will then be prompted to confirm the connection in the selected HubSpot portal.
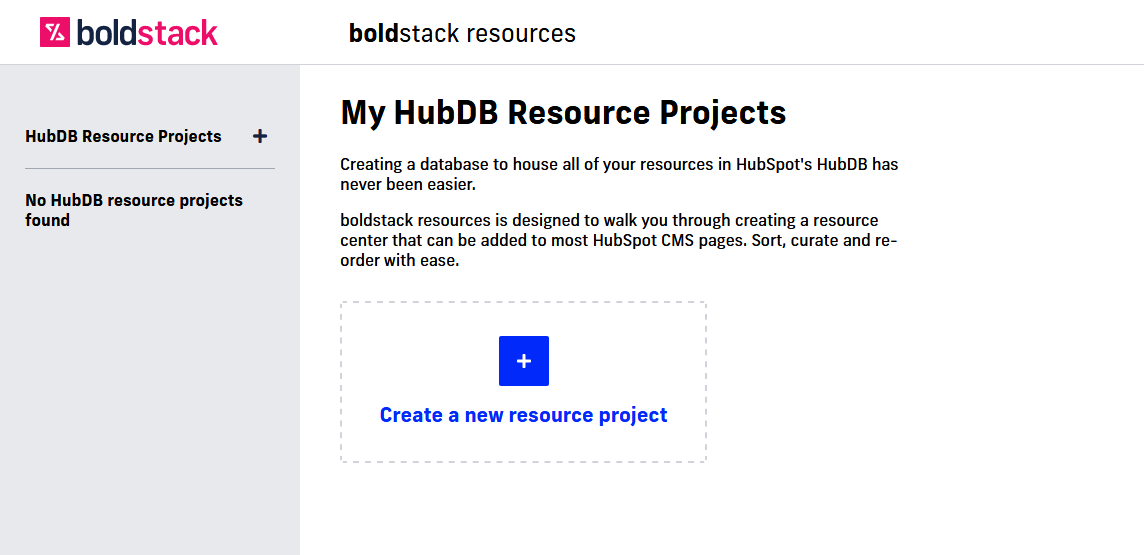
Getting Started with BoldStack Resources
After you've connected boldstack resources to your HubSpot portal, you'll be sent to the resources dashboard. Here you'll see your available resource projects. Click on "Create a new resource project" to get started.
Creating a Project
Enter a name for your project. Once complete, this will be the name of a HubDB table in your portal.
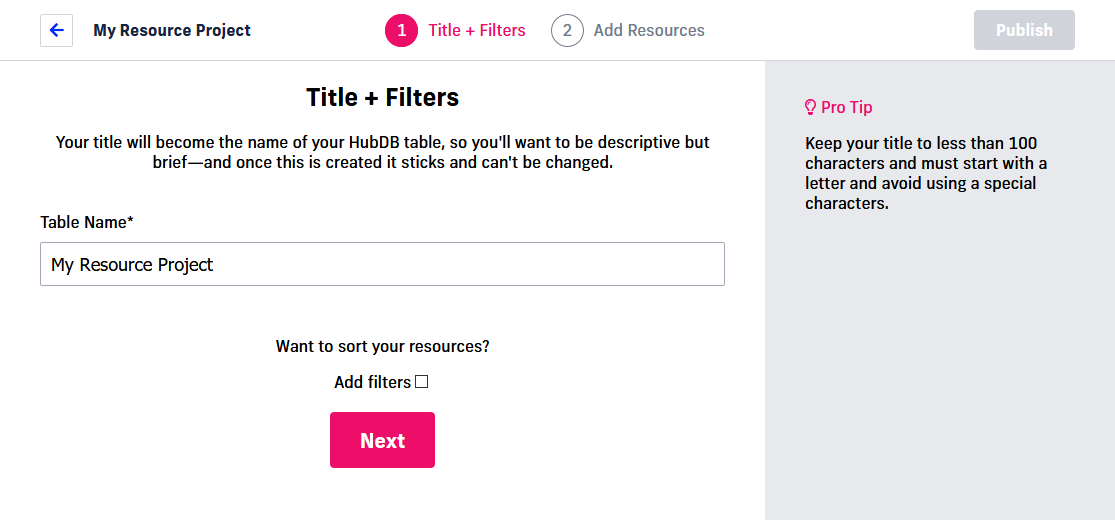
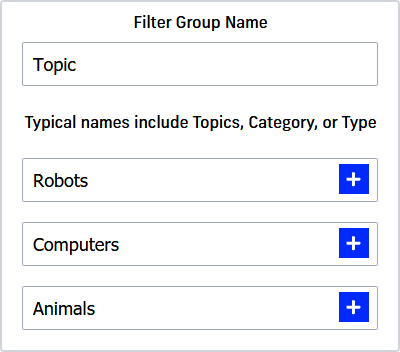
Adding Filters
Filters are used to categorize your resources and subsequently filter them in the module on your website. This is useful if you have a lot of resources and want users to get to what they're looking for quickly. Whether you have types of resources like eBooks, webinars, and case studies, or topics for resources like robots, computers, and animals, you can add them here. You'll be able to choose those types, topics, etc. for each resource you create in the next step.
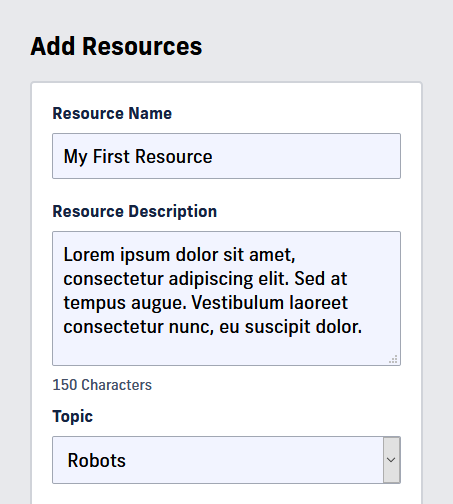
Adding Resources
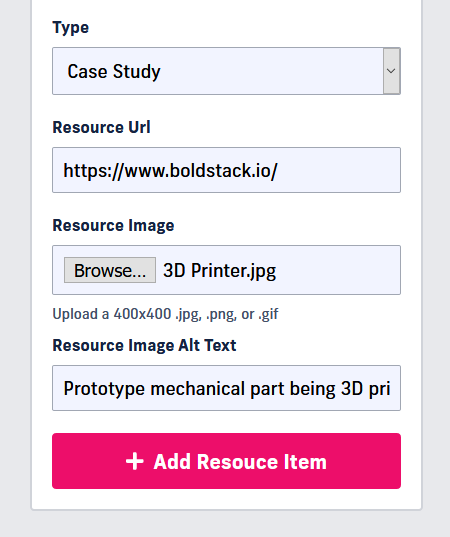
After confirming your project's name and filters, you'll be met with your project's resources page. You can add resources by filling out the information in the sidebar on the left and clicking the "+ Add Resource Item" button, after which your resource card will appear in the main viewport.
When you've added all your resources, click the "Publish" button in the upper right corner to make the HubDB table live for the module to access in the next step.
End Result:

Sorry!
No items currently match your filtering criteria.